
Bostitch 6 Gallon Air Compressor Manual: A Comprehensive Guide
This manual serves as your essential guide for operating and maintaining your Bostitch 6 Gallon Air Compressor‚ ensuring optimal performance and longevity.
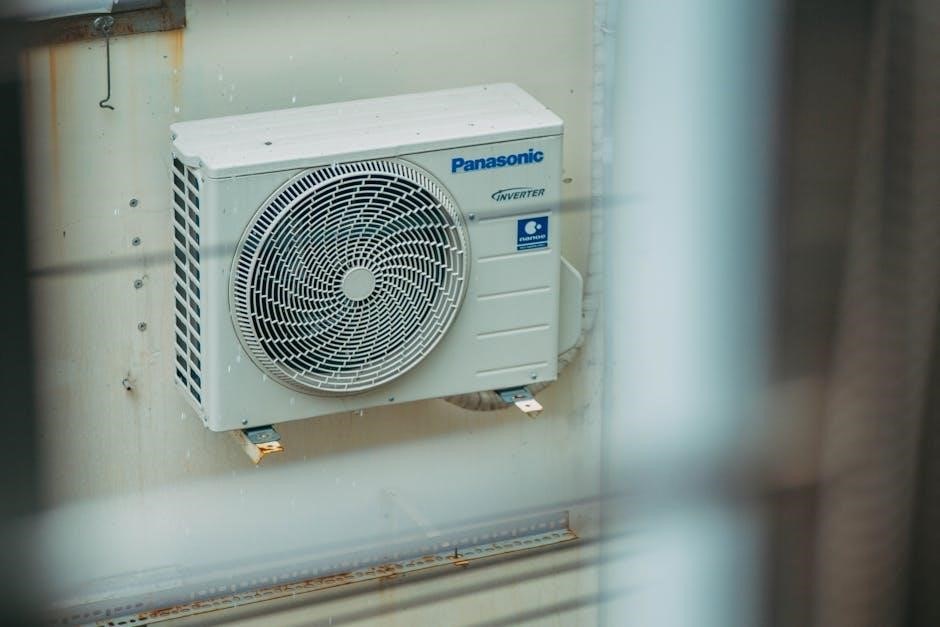
Welcome to the world of efficient pneumatic power! This Bostitch 6-gallon air compressor is designed for a wide range of applications‚ from DIY projects to professional tasks. It’s a versatile tool offering portability and reliable performance.
This manual provides comprehensive instructions‚ safety guidelines‚ and troubleshooting tips to maximize your compressor’s lifespan and ensure safe operation. Gmail‚ a popular email service‚ highlights the importance of user-friendly tools‚ mirroring Bostitch’s commitment to accessible power. Understanding its features will unlock its full potential.

Safety Precautions and Warnings
Prioritize safety during operation! Always wear safety glasses and ear protection. Never exceed the maximum pressure rating. Disconnect the power source before servicing. Ensure adequate ventilation‚ as the compressor generates heat.
Inspect hoses and connections for damage before each use. Avoid modifying the compressor in any way. Like Gmail’s security features protecting your data‚ these precautions safeguard you and your equipment. Ignoring warnings can lead to serious injury or compressor damage – operate responsibly!
Understanding the Compressor Components
Familiarize yourself with key parts! The air tank stores compressed air‚ while the motor and pump generate it. The pressure switch controls operation‚ automatically starting and stopping the motor.
A quick coupler allows easy tool connection. Like Gmail’s interface‚ each component has a specific function. Understanding these elements – mirroring Husky impact wrench instructions – is crucial for safe and efficient operation. Proper component knowledge aids maintenance and troubleshooting‚ extending your compressor’s lifespan.
Air Tank Specifications
The Bostitch 6-gallon tank is designed for reliable air storage‚ similar to Gmail’s 15GB storage capacity. It’s constructed for durability‚ handling typical operating pressures. Maximum PSI varies by model‚ so consult your unit’s label.
Regular draining is vital – like clearing unwanted emails – to prevent corrosion. The tank’s capacity impacts runtime; 6 gallons offer a balance between portability and sustained tool use. Always adhere to safety guidelines regarding tank pressure and inspection‚ ensuring safe operation.
Motor and Pump Details
The Bostitch compressor features an electric motor powering an oil-free pump‚ akin to Gmail’s efficient service. Horsepower (HP) typically ranges from 0.5 to 1.0‚ influencing airflow (CFM). Oil-free operation minimizes maintenance‚ similar to Gmail’s user-friendly interface.
The pump’s design dictates air delivery and recovery time. Regular checks for proper motor function and pump lubrication (if applicable) are crucial. Ensure adequate ventilation to prevent overheating‚ mirroring the need for a stable internet connection for Gmail.
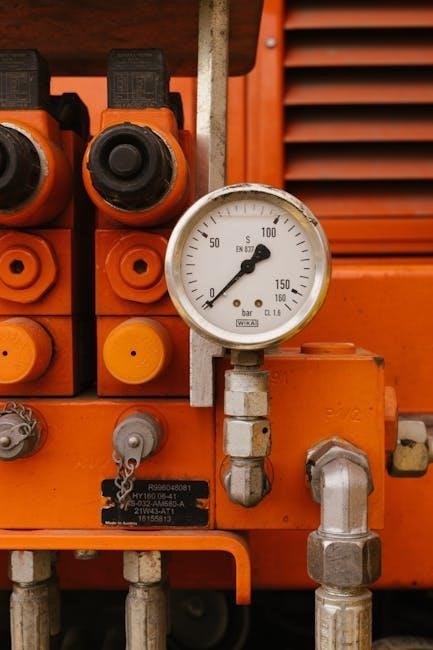
Pressure Switch Functionality
The pressure switch controls the compressor’s operation‚ automatically starting and stopping the motor to maintain desired air pressure‚ much like Gmail’s instant notifications. It features adjustable cut-in and cut-out pressure settings. Understanding these settings is vital for optimal tool performance.
When tank pressure drops below the cut-in point‚ the motor activates. Reaching the cut-out pressure‚ the motor shuts off. Inspect the switch for proper function; issues can cause inconsistent pressure‚ similar to email delivery problems.
Setting Up Your Bostitch 6 Gallon Compressor
Proper setup is crucial for safe and efficient operation‚ mirroring the secure access of Gmail. Begin with a thorough inspection for any shipping damage. Ensure the compressor is placed on a stable‚ level surface with adequate ventilation‚ like accessing your inbox.

Next‚ assemble any included parts according to the diagram. Connect to an appropriate air source and verify electrical compatibility. Always prioritize electrical safety‚ similar to protecting your Google account.
Initial Inspection and Assembly
Carefully unpack your Bostitch compressor and inspect all components for damage sustained during shipping. Verify all parts listed in the parts diagram are present. Assembly typically involves attaching the handle‚ feet‚ and air hose connector – consult the diagram for specifics.
Ensure all connections are secure before proceeding‚ much like verifying your Gmail account settings. Do not force any parts during assembly. A properly assembled unit is fundamental for safe and reliable operation.
Connecting to an Air Source
Your Bostitch compressor requires a clean‚ dry‚ and regulated air source for optimal performance‚ similar to how Gmail requires a stable internet connection. Connect an air hose with the appropriate fittings to the compressor’s inlet.
Ensure the air source’s pressure does not exceed the maximum input pressure specified on the compressor’s data plate. Utilize an inline air filter/regulator to maintain consistent pressure and protect the compressor from contaminants‚ just as Gmail filters spam.
Power Requirements and Electrical Safety
This Bostitch compressor typically operates on standard 120V‚ 60Hz household current‚ much like accessing Gmail from your computer. Always verify the voltage matches your power supply.
Never use damaged cords or plugs‚ and ensure proper grounding to prevent electrical shock – a critical safety measure. Avoid operating in wet conditions. Disconnect the power cord before performing any maintenance‚ mirroring safe practices with any electrical device‚ including your smartphone for Gmail access.
Operating Instructions
Before starting‚ ensure all connections are secure‚ similar to signing into your Gmail account. Connect your air tool to the quick coupler. Turn the power switch to the ‘ON’ position; the compressor will begin filling the tank.
Monitor the pressure gauge and adjust the regulator to your desired PSI. Utilize the quick coupler for easy tool changes. Remember to drain the tank regularly‚ just as you might clear your Gmail inbox for optimal performance and efficiency.
Filling the Tank with Air
To initiate air compression‚ verify the power cord is securely plugged into a grounded outlet‚ mirroring a stable internet connection for Gmail. Switch the compressor to the ‘ON’ position. The motor will engage‚ and the pump will begin drawing air into the tank.
Observe the pressure gauge; the compressor will automatically shut off when the preset maximum pressure is reached‚ much like Gmail’s spam filter. Allow sufficient time for complete tank filling before use.
Adjusting Air Pressure
The Bostitch compressor features an adjustable regulator‚ similar to Gmail’s customizable settings‚ to control output pressure. Rotate the regulator knob clockwise to increase pressure and counterclockwise to decrease it.
Monitor the output pressure gauge while adjusting‚ ensuring it matches the tool’s requirement. Always release pressure before disconnecting tools‚ akin to safely signing out of Gmail. Never exceed the maximum pressure rating of the compressor or connected tools.
Using the Quick Coupler
The quick coupler allows for fast and easy tool connection‚ much like Gmail’s instant message access. Push the tool’s air hose firmly into the coupler until it clicks‚ securing the connection.
To disconnect‚ simply pull back the coupler sleeve; releasing the hose is similar to signing out of a Google account. Ensure the compressor is off or pressure is released before disconnecting. Verify a secure connection before operation to prevent air leaks‚ mirroring Gmail’s secure access.
Maintenance and Troubleshooting
Regular maintenance extends your compressor’s life‚ much like consistent Gmail updates improve performance. Key tasks include daily tank draining to prevent rust – similar to clearing your Gmail inbox.
Periodically clean or replace the air filter to ensure clean air intake‚ and check oil levels if applicable. Troubleshooting common issues like no-start conditions or air leaks is crucial. Addressing these promptly‚ like resolving Gmail errors‚ prevents further damage and ensures reliable operation.
Draining the Tank
Daily tank draining is vital to prevent corrosion and maintain compressor efficiency‚ akin to regularly clearing unwanted emails from your Gmail inbox. Locate the drain valve‚ typically at the tank’s bottom.
Open the valve and allow all accumulated moisture to drain completely – a process similar to archiving old Gmail messages. Ensure the compressor is disconnected from the power source before draining. This simple step significantly extends the tank’s lifespan and ensures optimal air quality for your tools.
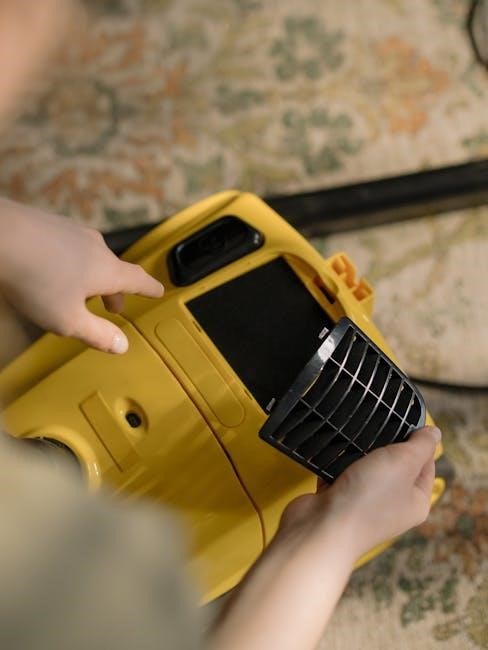
Air Filter Cleaning and Replacement
Maintaining a clean air filter is crucial for optimal compressor performance‚ much like keeping your Gmail organized with filters. Regularly inspect the air filter for dirt and debris; a clogged filter restricts airflow‚ reducing efficiency.
Clean the filter with mild soap and water‚ allowing it to dry completely before reinstalling. Replace the filter annually‚ or more frequently in dusty environments. A clean filter ensures clean air enters the pump‚ prolonging its life and maintaining consistent pressure.
Oil Level Check and Refilling (if applicable)
Some Bostitch 6-gallon compressors are oil-free‚ while others require oil for lubrication‚ similar to maintaining a smooth Gmail experience. Check your model’s specifications to determine if oil is needed. If applicable‚ locate the oil fill plug – typically on the pump housing.
With the compressor unplugged‚ remove the plug and check the oil level with a dipstick. Refill with the recommended oil type to the ‘full’ mark. Avoid overfilling‚ as this can cause damage. Regular oil checks ensure smooth operation and extend the compressor’s lifespan.
Common Problems and Solutions
Encountering issues with your Bostitch compressor? Like troubleshooting Gmail‚ several problems have straightforward solutions. If the compressor won’t start‚ check the power supply and ensure the pressure switch isn’t tripped. Air leaks can be found using a soapy water solution – bubbles indicate the leak’s source.
Pressure switch malfunctions often require replacement. Always disconnect power before attempting repairs. Refer to the parts diagram for assistance. Consistent maintenance‚ similar to regular Gmail account checks‚ prevents many issues.
Compressor Not Starting
If your Bostitch compressor fails to start‚ begin by verifying the power source – ensure the unit is properly plugged into a functioning outlet. Next‚ inspect the circuit breaker or fuse box for any tripped breakers or blown fuses. Confirm the pressure switch isn’t set to ‘off’ or a very high pressure.
A faulty capacitor is a common culprit; testing it requires a multimeter. Like troubleshooting Gmail‚ systematic checks are key. If issues persist‚ consult a qualified technician.
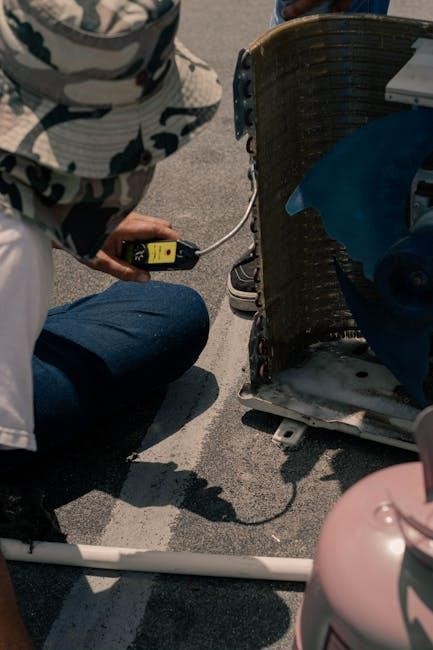
Air Leaks and How to Find Them
Detecting air leaks is crucial for maintaining compressor efficiency. Begin by listening for hissing sounds around fittings‚ hoses‚ and the tank itself. A soapy water solution applied to connections will reveal leaks through bubbling. Inspect the drain valve‚ pressure switch‚ and quick coupler for any signs of escaping air.
Tighten loose fittings‚ replace damaged hoses‚ or address faulty components. Like Gmail’s security features‚ a sealed system is vital for optimal function.
Pressure Switch Issues
A malfunctioning pressure switch can prevent the compressor from starting or stopping correctly. Check for loose wiring or corrosion on the switch’s terminals. If the compressor runs continuously‚ the switch may be stuck in the “on” position; Conversely‚ if it doesn’t start‚ it could be stuck “off.”
Like Gmail’s reliable service‚ a functioning pressure switch is essential. Replacement may be necessary; always disconnect power before inspection.
Parts Diagram and Replacement

A detailed parts diagram is crucial for identifying components needing replacement. Commonly replaced parts include the pressure switch‚ air filter‚ check valve‚ and pump components. Always use genuine Bostitch replacement parts to maintain performance and safety‚ similar to Gmail’s secure features.
Refer to the diagram for proper assembly. Disconnect the power source before any repair. Online retailers and Bostitch’s website offer parts ordering.
Warranty Information
Bostitch offers a warranty on the 6 Gallon Air Compressor‚ covering manufacturing defects for a specified period – typically one to three years from the date of purchase‚ much like Gmail’s service agreement. The warranty excludes damage from misuse‚ normal wear and tear‚ or unauthorized repairs.
To claim warranty service‚ retain your proof of purchase and contact Bostitch customer support. Registration may be required. Review the full warranty details included with your compressor.
Technical Specifications
The Bostitch 6 Gallon Air Compressor features a 1.5 HP motor‚ delivering 125 PSI maximum pressure‚ similar to the reliable performance expected from Gmail’s servers. Its tank capacity is 6 gallons‚ providing ample air storage for various pneumatic tools. Airflow at 90 PSI is approximately 2.6 CFM.
Voltage requirements are typically 120V/60Hz. The compressor’s dimensions are around 17.5 x 13.5 x 11 inches‚ and it weighs approximately 30 pounds‚ offering portability.
Frequently Asked Questions (FAQ)
Q: Why won’t my compressor start? A: Check the power cord‚ breaker‚ and pressure switch. Q: What oil type is recommended? A: Refer to the manual; some models are oil-free. Q: How often should I drain the tank? A: After each use to prevent corrosion‚ much like regularly clearing your Gmail inbox.
Q: What does CFM mean? A: Cubic Feet per Minute – indicates airflow. Q: How do I adjust the pressure? A: Use the regulator knob. Q: Where can I find replacement parts? A: Online retailers or Bostitch’s website.
Where to Find Additional Support
For detailed assistance‚ visit the official Bostitch website for downloadable manuals‚ troubleshooting guides‚ and FAQs – similar to Google’s support resources for Gmail. You can also find helpful videos demonstrating setup and maintenance procedures.
Contact Bostitch customer support via phone or email for direct assistance with specific issues. Online forums and communities dedicated to air compressors often provide valuable peer-to-peer support and advice. Remember to have your model number readily available when seeking help.
Related Bostitch Air Compressor Models
If the 6-gallon model doesn’t quite meet your needs‚ Bostitch offers a range of other air compressors. Consider the Bostitch BT-50BB 5-gallon model for portability‚ or explore larger options like the Bostitch CAP6900 9-gallon compressor for increased capacity.
For heavier-duty tasks‚ investigate Bostitch’s professional-grade compressors. Like Gmail’s diverse features‚ Bostitch provides options for various applications. Always compare specifications and features to determine the best fit for your projects and requirements.
Be First to Comment