
Welcome to the MVP Allstar Garage Door Opener manual! This guide provides comprehensive instructions for installation, programming, and troubleshooting your garage door opener. Ensure safe and efficient operation by following the detailed steps and safety precautions outlined in this manual.
1.1 Overview of the MVP Allstar Garage Door Opener
The MVP Allstar Garage Door Opener is a reliable and feature-rich residential garage door operator designed for seamless operation and enhanced security. It offers compatibility with smart home systems, allowing for remote monitoring and control through platforms like ismartgate. The system includes advanced features such as a wireless keypad, keyless entry, and programmable PIN codes, providing convenience and flexibility. Safety is prioritized with sensors that detect obstacles and prevent accidents, ensuring compliance with ANSI/UL 325 standards. The opener is known for its durable construction and quiet operation, making it a popular choice for homeowners. This manual will guide you through installation, programming, and maintenance to ensure optimal performance and longevity of your MVP Allstar Garage Door Opener.
1.2 Importance of Reading the Manual
Reading the MVP Allstar Garage Door Opener manual is essential for safe and effective use. It provides critical safety guidelines, installation steps, and troubleshooting tips to ensure proper functionality. The manual outlines ANSI/UL 325 safety standards, highlighting potential hazards and how to avoid them. By following the instructions, users can prevent damage to the door, opener, or surrounding equipment. Additionally, the manual includes programming steps for remotes and keypads, ensuring secure and convenient operation. Regular maintenance tips are also provided to extend the lifespan of the opener. Failure to follow the manual may result in malfunctions or safety risks. It is a comprehensive resource for optimal performance and user satisfaction, covering everything from initial setup to long-term care.
Installation of the MVP Allstar Garage Door Opener
Proper installation ensures smooth operation and safety. Follow step-by-step instructions for aligning and attaching components, ensuring compatibility with your garage door type and size.
2.1 Step-by-Step Installation Guide
Begin by unpacking and organizing all components, including the motor unit, rail, mounting hardware, and remote control. Locate the center of your garage door and mark it for accurate rail alignment. Attach the motor unit to the ceiling using the provided brackets, ensuring it’s securely fastened. Next, align the rail with the marked center point and connect it to the motor. Install the door brackets and sensors according to the manual’s specifications. Connect the emergency release and test the door’s balance. Finally, plug in the motor and perform a safety test by observing the door’s movement without obstruction. Refer to the manual for detailed diagrams and torque specifications to ensure a safe and correct installation.

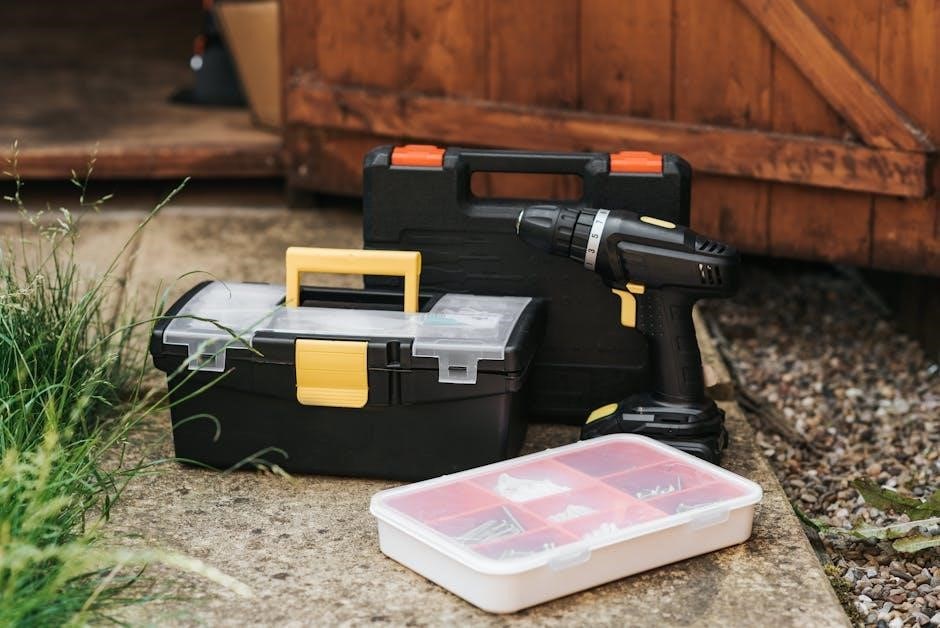
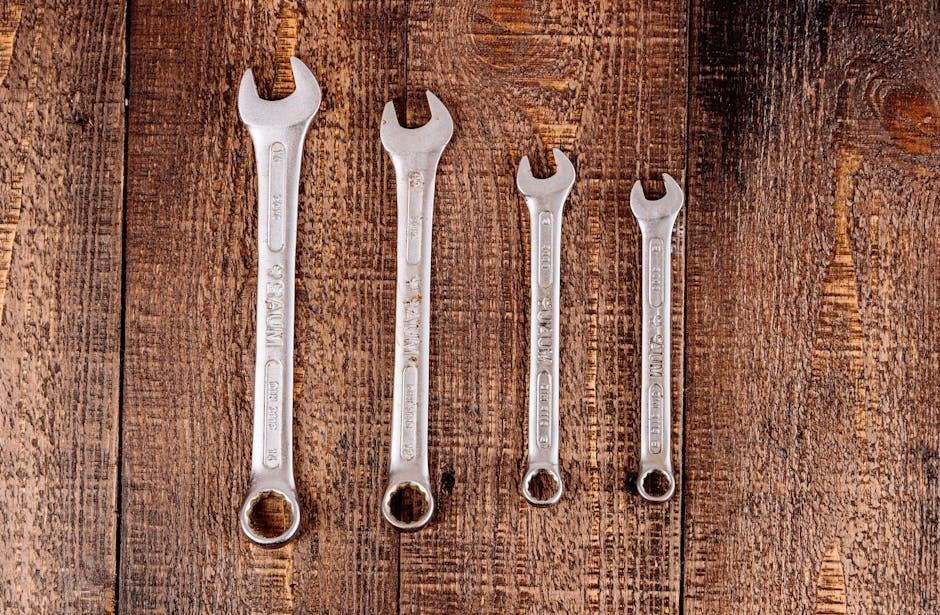
2.2 Tools and Materials Required
To install the MVP Allstar Garage Door Opener, you will need specific tools and materials. Essential tools include a drill, screwdriver set, wrench, pliers, level, tape measure, and a ladder. Additional materials like screws, bolts, and a garage door reinforcement bracket may be required. The opener typically comes with a rail, motor unit, mounting brackets, and safety sensors. Ensure all components are included in the package before starting. Some tools and materials, such as screws or bolts, may not be provided, so verify availability beforehand. Always refer to the manual for a comprehensive list of required items to avoid delays during installation. Proper preparation ensures a smooth and efficient setup process. Gather all necessary tools and materials in advance to complete the task successfully.

Programming the MVP Allstar Garage Door Opener
Programming the MVP Allstar Garage Door Opener involves syncing the remote control and setting up the wireless keypad for seamless operation. Follow the manual’s step-by-step guide to ensure proper functionality and integration with your garage door system.
3.1 Programming the Remote Control
Programming the remote control for the MVP Allstar Garage Door Opener ensures seamless communication between the remote and the opener. Start by locating the “Learn” button on the opener, typically found near the antenna. Press and hold the Learn button for 2-3 seconds until the LED light blinks, indicating programming mode. Next, stand within 5-10 feet of the opener and press the desired button on the remote control. Hold it for 3-5 seconds until the LED light on the opener stops blinking. Release the remote button and test the remote to ensure proper function. If the garage door doesn’t respond, repeat the process or consult the manual for troubleshooting tips. Ensure the remote is the only device being programmed during this process to avoid interference.
3.2 Setting Up the Wireless Keypad
To set up the wireless keypad for the MVP Allstar Garage Door Opener, start by locating the “Learn” button on the opener. Press and hold it for 2-3 seconds until the LED light blinks. Enter a 4-digit PIN of your choice on the keypad, then press the “Enter” button. The LED light will stop blinking once the keypad is synced. Test the keypad by entering your PIN and pressing “Enter” to ensure the garage door responds. If the keypad doesn’t work, re-sync it by repeating the process. For added security, change your PIN periodically. The wireless keypad offers convenient access without needing the remote, making it ideal for family members or guests. Always ensure the keypad is mounted securely and within range of the opener for reliable performance.
Troubleshooting Common Issues
Troubleshoot common issues like the door not opening, strange noises, or remote malfunctions by checking power sources, sensors, and alignments for optimal functionality.
4.1 Remote Control Not Working
If the remote control fails to operate the garage door, start by checking the battery. Replace weak or dead batteries with new ones, ensuring they are installed correctly. Next, verify that the remote is properly programmed to the garage door opener. If the issue persists, check for physical obstructions between the remote and the opener, as these can block the signal. Additionally, ensure that the opener’s receiver is functioning and that no other devices are interfering with the signal. Finally, test the remote at varying distances to determine if range is the problem. If none of these steps resolve the issue, refer to the programming section or contact customer support for further assistance.
4.2 Garage Door Not Responding to Commands
If the garage door does not respond to commands, first ensure the opener is properly plugged in and receiving power. Check the circuit breaker or fuse box to confirm the power supply is intact. Next, verify that the door is fully disengaged from manual mode by pulling the emergency release cord. Inspect the safety sensors for obstructions or misalignment, as blocked or misaligned sensors can prevent the door from operating. Clean the sensors gently with a soft cloth if necessary. Ensure the remote control or keypad is functioning and programmed correctly. If the issue persists, check for loose connections or wear on the door’s tracks and rollers. Perform a hard reset by unplugging the opener, waiting 30 seconds, and plugging it back in. Contact a professional if the problem remains unresolved.

Maintenance and Care
Regular maintenance ensures optimal performance and longevity of your MVP Allstar garage door opener. Inspect and clean moving parts, and lubricate hinges and rollers periodically. Schedule professional inspections annually to identify potential issues early. Always follow safety guidelines when performing maintenance tasks. Proper care extends the lifespan and ensures smooth operation of your garage door system.
5.1 Regular Maintenance Tips
Regular maintenance is essential to ensure the smooth operation of your MVP Allstar garage door opener. Start by cleaning the tracks and rollers with a soft cloth to remove dirt and debris. Lubricate the moving parts, such as hinges and springs, with a silicone-based lubricant to reduce friction and wear. Inspect the cables and springs for signs of wear or damage and replace them if necessary. Test the door’s balance by disconnecting the opener and manually opening the door—it should move smoothly without resistance. Additionally, check the safety sensors to ensure they are properly aligned and functioning. Finally, test the remote control batteries and replace them as needed to maintain consistent performance. Regular upkeep prevents costly repairs and extends the lifespan of your garage door system.
5.2 Lubricating Moving Parts
Lubricating the moving parts of your MVP Allstar garage door opener is crucial for ensuring smooth and quiet operation. Start by identifying the key components, such as the rollers, hinges, and springs. Use a high-quality silicone-based lubricant, as it resists dust and dirt buildup. Apply a small amount directly to the moving parts, ensuring even coverage. Avoid using WD-40 or oil-based products, as they can attract dust and reduce efficiency. Lubricate every 6 to 12 months, depending on usage. Wipe off any excess lubricant with a clean cloth to prevent drips. Proper lubrication reduces friction, prevents wear, and extends the lifespan of your garage door system. Regular lubrication also helps maintain the opener’s performance and minimizes the risk of mechanical issues.
Safety Features and Precautions
Ensure safe operation with the MVP Allstar’s advanced safety mechanisms. Always follow precautions to prevent accidents and protect users from potential hazards. Proper usage ensures reliability.
6.1 Safety Guidelines for Installation and Use
Always prioritize safety when installing and operating the MVP Allstar Garage Door Opener. Wear protective gear, including gloves and safety glasses, during installation. Ensure the garage door is closed and secure before starting any work. Avoid overreaching or standing under the door while it is in motion. Never allow children or pets to play near the door or opener. Keep the remote control out of reach of children to prevent accidental activation. Follow the manufacturer’s instructions precisely to avoid misinstallation, which could lead to safety hazards. Test the door’s auto-reverse feature after installation to ensure it functions correctly. Regularly inspect the door and opener for wear or damage, addressing issues promptly to maintain safe operation.
6.2 Understanding Safety Sensors
The MVP Allstar Garage Door Opener is equipped with advanced safety sensors designed to prevent accidents and ensure smooth operation. These sensors use infrared beams to detect obstacles in the door’s path. If an object or person is detected, the door will automatically stop or reverse direction to avoid potential harm. Regularly inspect the sensors for cleanliness and proper alignment, as dirt or misalignment can disrupt their functionality. Test the sensors monthly by placing an object, like a small box, in the door’s path to ensure they activate correctly. Always refer to the manual for specific instructions on sensor maintenance and troubleshooting. Properly functioning safety sensors are essential for the safe and reliable operation of your garage door opener.
Advanced Features of the MVP Allstar
The MVP Allstar Garage Door Opener features advanced smart integration and compatibility with various home systems, offering enhanced security, convenience, and seamless control for a modern experience.
7.1 Smart Garage Door Opener Integration
The MVP Allstar Garage Door Opener seamlessly integrates with smart home systems, offering enhanced convenience and control. Compatible with platforms like Apple HomeKit, Google Home, and Amazon Alexa, it allows users to monitor and operate their garage door remotely via a smartphone app. This feature ensures peace of mind, as you can check if your garage door is closed or receive notifications if it’s left open. Voice commands enable hands-free operation, while customizable settings let you tailor alerts and automation to your preferences. Integration with other smart devices, such as doorbell cameras or motion sensors, further enhances security and functionality. Setup is straightforward, requiring only a stable internet connection and the manufacturer’s app. This advanced feature transforms your garage door into a smart, connected component of your home.
7.2 Compatibility with Smart Home Systems
The MVP Allstar Garage Door Opener is designed to work seamlessly with popular smart home systems, enhancing your home automation experience. It is compatible with systems like Samsung SmartThings, Apple HomeKit, and Google Home, allowing for voice control and integration with other smart devices. This compatibility enables users to create custom routines, such as automatically closing the garage door when leaving home or receiving alerts when someone enters. The opener also supports IFTTT (If This Then That) applets for personalized automation. With a stable internet connection, you can control and monitor your garage door from anywhere using your smartphone. This feature not only adds convenience but also boosts home security, ensuring your garage door operates smoothly within your smart ecosystem.

Reprogramming the MVP Allstar Garage Door Opener
Reprogramming the MVP Allstar ensures proper function after battery replacement or system reset, maintaining compatibility and smooth operation.
8.1 Reprogramming After Battery Replacement
After replacing the battery in your MVP Allstar Garage Door Opener, it may be necessary to reprogram the system to ensure proper functionality. Start by removing the battery and pressing the “Learn” button located on the motor unit to discharge any residual power. Reinsert the new battery and test the remote control to see if it operates the door. If it doesn’t respond, reprogram the remote by pressing the “Learn” button and holding the remote control button simultaneously until the unit acknowledges the signal. Repeat this process for any additional remotes or keypads. If issues persist, consult the manual or contact customer support for further assistance.
8.2 Resetting the Garage Door Opener
Resetting the MVP Allstar Garage Door Opener can resolve persistent issues or prepare it for a new installation. To reset, press and hold the “Learn” button on the motor unit for 10 seconds until the indicator light flashes. This action clears all programmed remote controls and keypad settings. After resetting, the opener will revert to factory settings, requiring reprogramming of all accessories. Ensure the garage door is closed before resetting to avoid unintended movement. Once reset, test the door by manually operating it to confirm proper function. If issues remain, refer to the troubleshooting section or contact technical support for further assistance. Always follow safety guidelines during this process.
9.1 Summary of Key Points
The MVP Allstar Garage Door Opener manual is a detailed guide designed to help users navigate installation, programming, troubleshooting, and maintenance. Key topics include step-by-step installation instructions, essential tools, and programming methods for remote controls and wireless keypads. Troubleshooting sections address common issues like non-responsive remotes and garage doors. Maintenance tips emphasize regular lubrication and safety checks. Advanced features such as smart home integration and compatibility with modern systems are highlighted. Reprogramming options ensure functionality after battery replacements or resets. Safety guidelines and sensor functionality are stressed for secure operation. By following this manual, users can maximize their garage door opener’s performance, ensuring reliability and efficiency over time.
9.2 Encouragement to Explore Additional Resources
While this manual provides a comprehensive guide for the MVP Allstar Garage Door Opener, exploring additional resources can further enhance your experience. Visit the official manufacturer’s website for updated manuals, FAQs, and instructional videos. Online forums and support groups offer valuable insights and troubleshooting tips from experienced users. Additionally, consider reaching out to certified technicians for complex issues or personalized advice; Staying informed about the latest features and updates ensures optimal performance and safety. By engaging with these resources, you can maximize the functionality of your garage door opener and enjoy a seamless, hassle-free experience for years to come.
Be First to Comment